Why Is My Portable Humidifier Leaking From the Bottom? 5 Fixes
Dadfficient is reader-supported. If you buy through my links, I may earn a commission at no extra cost to you. I only recommend gear that passes the “Dad Test.”
If you are asking why is my portable humidifier leaking from the bottom, start with the tank seal, cap, valve, and the way the tank is sitting on the base.
The most useful first check is the rubber gasket or O-ring inside the tank cap. If it is missing, twisted, dirty, or damaged, the tank may not seal correctly. Other common possibilities include a sticking water valve, a cross-threaded cap, a cracked tank, or the humidifier sitting unevenly.
Before replacing the unit, unplug it, dry the surrounding area, and work through these five checks.
Quick Dad Diagnostics
- Leak starts after refilling: Check the tank cap, O-ring, and threading first.
- Water keeps draining into the base: Inspect the tank valve for debris or mineral buildup.
- Leak appears only when assembled: Check tank seating and whether the base is level.
- Tank leaks while sitting by itself: Inspect the tank for cracks or a damaged seal.
- Humidifier not working after cleaning: Recheck every gasket, removable part, tank connection, and make sure no electrical area is wet.
Why Is My Portable Humidifier Leaking From the Bottom?
Many removable-tank humidifiers use a simple gravity-fed water system. The tank sits above the base and releases water through a valve as the lower reservoir needs it.
The exact design varies between brands and models, but the tank cap, gasket, water valve, and tank-to-base connection all have to work together correctly.
If the seal is damaged, the valve sticks, the tank sits incorrectly, or the tank itself develops a crack, water can escape into or around the base.
That is why the fastest way to diagnose why is my humidifier leaking from the bottom is to inspect those components one at a time instead of assuming the entire machine has failed.
5 Fixes for a Portable Humidifier Leaking From the Bottom
1. Reseat or Replace the Rubber O-Ring
Start with the tank cap. If your humidifier uses a removable gasket or O-ring, make sure it is still present and sitting flat in its groove.
These small rubber seals can shift during cleaning, become pinched when the cap is tightened, or gradually harden and flatten with age.
Remove the cap, inspect the gasket, and clean away any visible debris or mineral residue. Reinstall the seal evenly without twisting it.
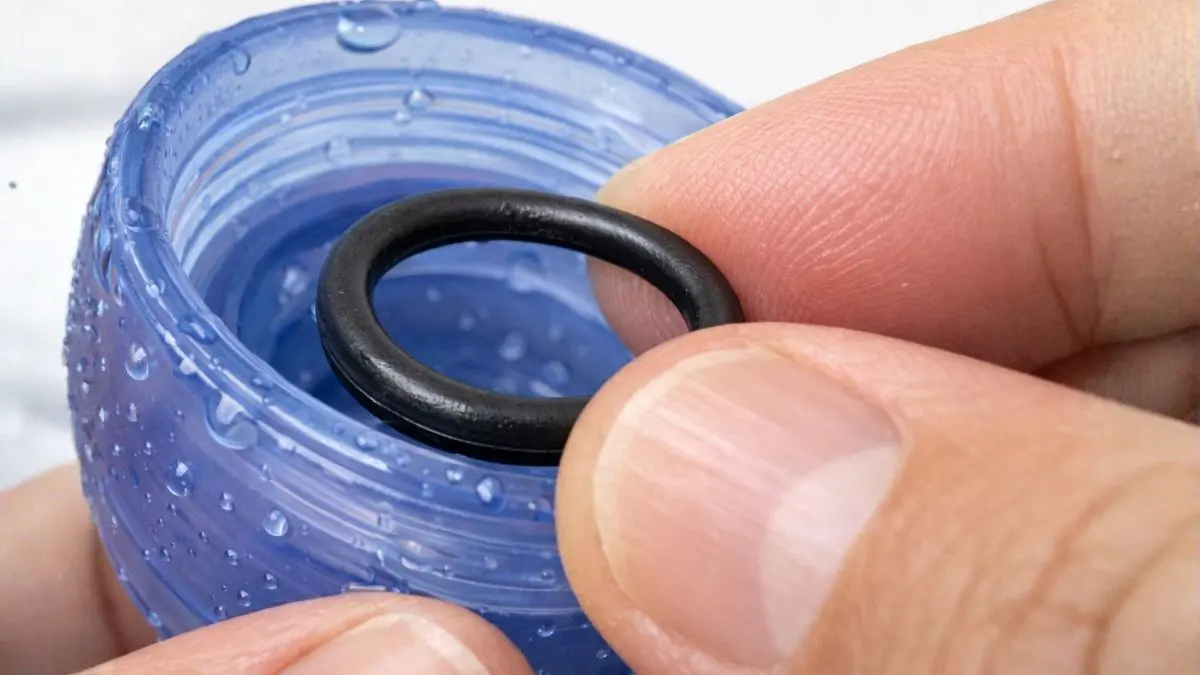
If the O-ring is cracked, permanently flattened, stretched, or no longer fits correctly, replace it with the correct manufacturer part or an appropriately matched replacement seal.
2. Check the Tank Valve for Sticking
Many removable-tank humidifiers use a spring-loaded or pressure-operated valve in the tank cap or tank outlet.
When the tank is placed on the base, that valve opens to release water. When the tank is removed, the valve should return to its closed position.
With the humidifier unplugged and empty, inspect the valve for visible mineral deposits or debris. If the valve is designed to move manually, gently check whether it moves and returns freely.
If mineral buildup is present, clean the cap or valve according to the manufacturer’s descaling instructions. Vinegar is commonly used with compatible humidifier parts, but soak time and cleaning procedures vary by model.
Dad Test: Valve Check
- Unplug first: Never troubleshoot a wet humidifier while it is powered.
- Look for scale: White or crusty deposits can interfere with moving parts.
- Do not force it: If a valve does not move normally, check your model manual before disassembling it.
- Clean correctly: Follow the manufacturer’s instructions for any vinegar or descaling treatment.
3. Check the Tank Cap for Cross-Threading
A tank cap can feel tight even when it has started on the threads slightly crooked.
If the cap does not sit evenly, the gasket may not compress correctly and water or air can move through places that were designed to stay sealed.
Remove the cap and inspect both sets of threads for damage or debris.
When reinstalling it, start slowly and make sure the cap turns smoothly and sits squarely. Tighten it according to the manufacturer’s instructions without forcing or over-tightening the plastic.
If the leak started immediately after a refill, this is one of the first things worth checking.
4. Inspect the Water Tank for Hairline Cracks
If the cap, gasket, and valve all appear normal, inspect the water tank itself.
Plastic tanks can develop small cracks after a drop, impact, repeated stress, or long-term wear.
Fill the tank with water, dry the exterior thoroughly, and place it on a dry surface away from the humidifier base.
Watch for moisture slowly appearing around the tank. A dry paper towel underneath can also make a slow leak easier to spot.
If you identify a crack in the tank, replace the tank with the correct part rather than relying on tape or an improvised seal for long-term use.
5. Level the Base and Avoid Moving the Unit While Full
Place the humidifier on a stable, hard, level surface before reinstalling the filled tank.
An uneven surface can prevent the tank and base from seating as intended, and moving an assembled humidifier while it contains water can cause water to slosh into areas that normally remain dry.
The safer routine is simple: position the empty base first, then carry the filled tank separately and install it at the final location.
Avoid thick carpet, folded towels, or unstable furniture underneath the humidifier unless the manufacturer’s instructions specifically allow it.
If this humidifier is being used around a baby or toddler, read our complete
Humidifier Safety Guide for Infants
for placement, cleaning, humidity, and nursery safety guidance.
What If My Humidifier Is Not Working After Cleaning?
If your humidifier is not working after cleaning, do not immediately assume the electronics have failed.
Start by checking whether the tank is seated correctly, the gasket or O-ring was reinstalled, removable components are positioned properly, and the unit has completely dried where required.
Also inspect the base for water in any area the manufacturer identifies as an air outlet, electrical compartment, control area, or non-submersible section.
If water entered an electrical area, keep the humidifier unplugged and allow it to dry according to the manufacturer’s instructions before attempting to operate it again.
Do not open sealed electrical components unless the manufacturer specifically provides a user-service procedure.
Water Leaks Around Electronics: What to Do
A leaking humidifier becomes more serious when water reaches electrical equipment.
If the humidifier is next to a baby monitor, smart speaker, charger, extension cord, outlet, or power strip, move carefully.
If you can safely unplug the humidifier from a dry wall outlet without touching standing water or wet electrical equipment, disconnect it.
If water has reached the outlet, plug, power strip, or other electrical connection and you cannot safely disconnect the device, shut off power to that circuit at the breaker before handling the wet equipment.
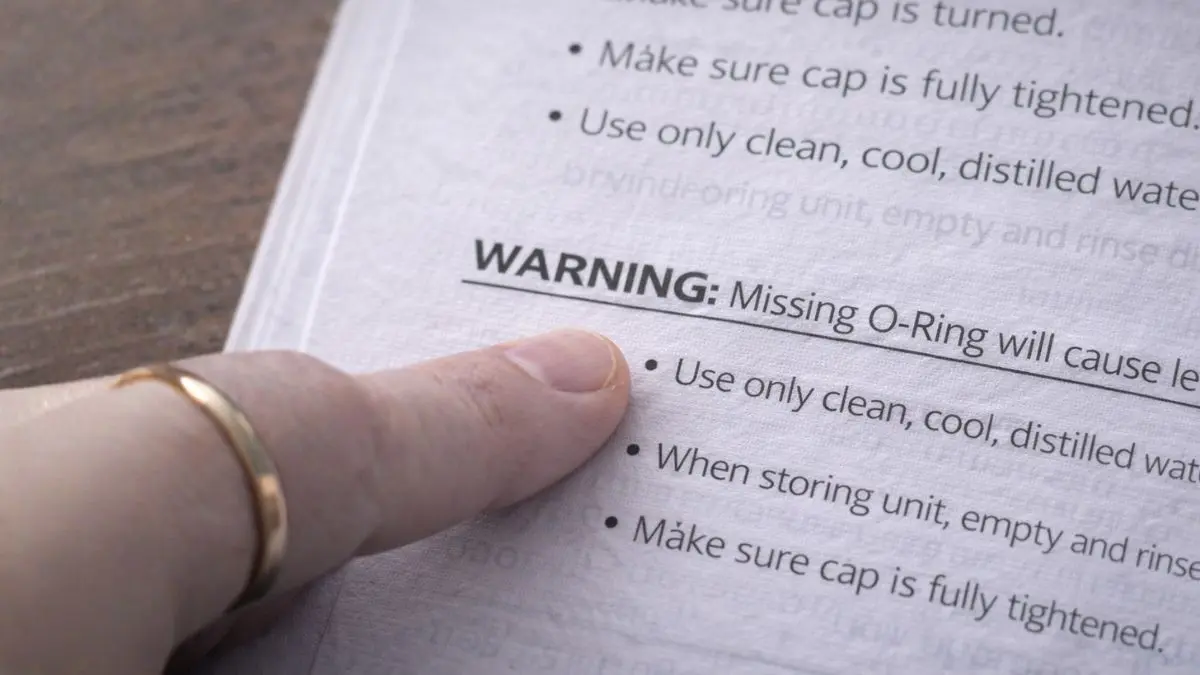
After the leak is stopped, dry the surrounding furniture, flooring, carpet, or wall surfaces promptly. The EPA recommends drying wet or damp materials within roughly 24 to 48 hours when possible to help prevent mold growth.
Still Leaking After These Checks?
If you are still asking why is my portable humidifier leaking from the bottom after checking the tank, gasket, valve, cap, and seating, the tank or base may have a damaged component that is not practical to repair.
If you are considering a replacement, see our
Carepod vs Canopy Humidifier comparison
for two designs that take very different approaches to cleaning, water handling, and ongoing maintenance.
Frequently Asked Questions
Why is my Honeywell humidifier leaking from the bottom?
If you have a Honeywell humidifier leaking from bottom areas, first identify the exact model because Honeywell uses different tank and water-delivery designs.
For removable-tank models, inspect the tank cap, gasket, water valve, tank seating, and plastic tank for visible damage or mineral buildup. Then compare what you find with the troubleshooting instructions for your specific Honeywell model.
Why is my humidifier leaking from the bottom?
Common causes include a damaged or misplaced tank gasket, a cap that is not seated correctly, a sticking water valve, a cracked tank, or improper tank-to-base seating. The exact cause depends on the humidifier’s design.
Why is my humidifier not working after cleaning?
A humidifier may stop working after cleaning if a tank or removable component was reassembled incorrectly, a gasket was misplaced, the tank is not seated properly, or moisture entered an area that needs to remain dry. Unplug the unit and compare the assembly with your model manual before trying it again.
Is it safe to use a leaking humidifier?
Do not continue operating a humidifier that is actively leaking, especially if water is reaching electrical equipment or surrounding furniture and flooring. Unplug it safely, stop the leak, and dry wet materials promptly.
Can a leaking humidifier cause mold?
Persistent moisture can create conditions that support mold growth. The EPA recommends drying wet or damp materials within approximately 24 to 48 hours when possible, so clean up leaks promptly and make sure the surrounding area dries completely.
- Environmental Protection Agency (EPA): Moisture-control guidance and recommendations for drying wet materials to help prevent mold growth.
- Consumer Product Safety Commission (CPSC): General consumer-product and humidifier safety information.